
Webflow already has built-in animations. But sometimes you want smoother motion, cooler effects, or interactions that feel more premium. That's where GSAP comes in. You don't need to be a developer to start using it — just a basic setup and a few simple ideas.
What Is GSAP (And Why Use It)?
GSAP (GreenSock Animation Platform) is a lightweight animation library used by designers and creative developers to create smooth website animations. It offers smoother animations than default interactions, more control over timing, advanced scroll effects, and professional motion feel.

Step 1: Add GSAP to Your Webflow Site
You don't install anything complicated. Just add the GSAP script in Webflow: Open Project Settings, go to Custom Code, paste the GSAP CDN inside the Footer Code:
<script src="https://cdn.jsdelivr.net/npm/gsap@3/dist/gsap.min.js"></script>Publish your site and GSAP is ready.
Step 2: Give Elements Simple Class Names
GSAP targets elements using class names. Instead of random template classes like div-block-37, rename them to something clear like hero-title, fade-image, feature-card, or button-primary.

Step 3: Add Your First Animation
Add a small script inside Page Settings → Before </body> tag:
<script>
  gsap.from(".hero-title", {
    y: 40,
    opacity: 0,
    duration: 1,
    ease: "power2.out"
  });
</script>
This moves the element up slightly, fades it in, and animates smoothly on page load.
Step 4: Animate on Scroll
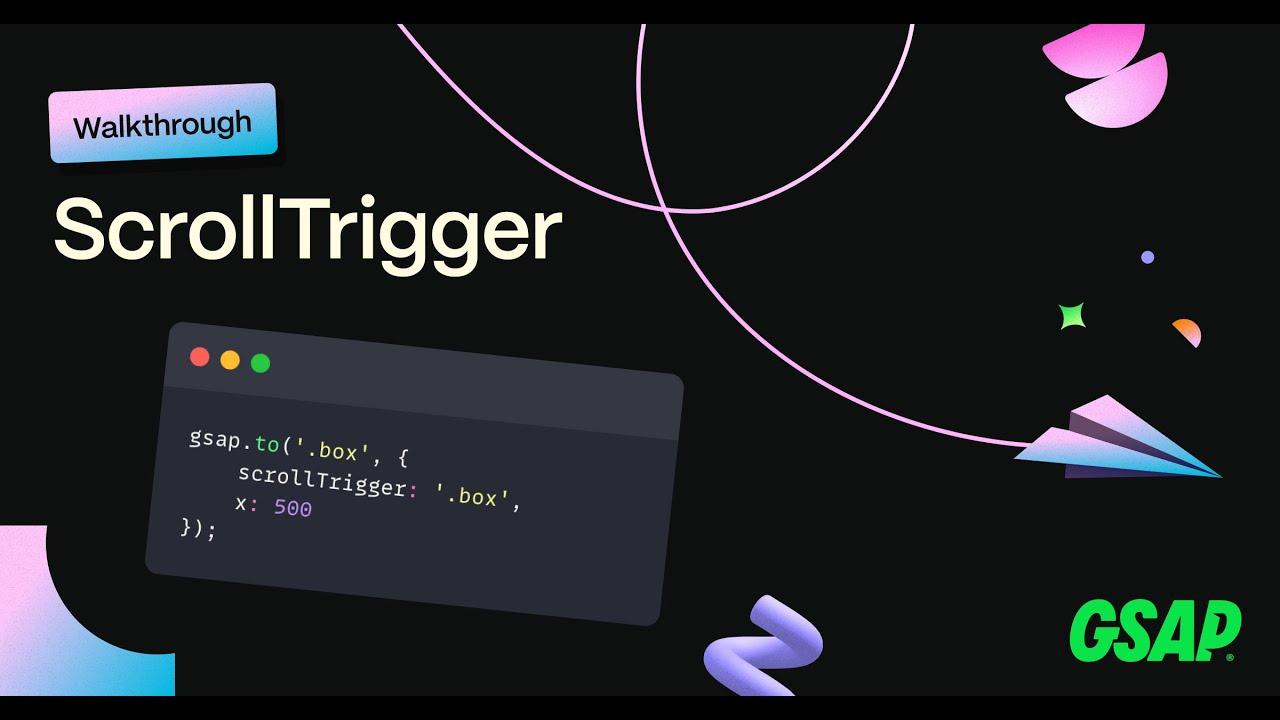
Add GSAP's ScrollTrigger plugin and register it:
<script src="https://cdn.jsdelivr.net/npm/gsap@3/dist/ScrollTrigger.min.js"></script>
<script>
  gsap.registerPlugin(ScrollTrigger);
  gsap.from(".feature-card", {
    scrollTrigger: ".feature-card",
    y: 60,
    opacity: 0,
    duration: 1
  });
</script>
Now elements animate when they enter the screen.
Step 5: Keep Animations Subtle
The biggest mistake is too many animations. Good motion design should guide attention, feel smooth, and support content. Avoid constant movement, long delays, and distracting effects.
Where GSAP Works Best in Webflow Templates
Great places to add motion: hero section entrance, feature cards on scroll, image reveals, button hover effects, and section transitions.
Pro Tip: Mix Webflow + GSAP
Use Webflow Interactions for simple effects and GSAP for advanced motion. Together, they create powerful results without heavy coding.
Final Thoughts
Adding GSAP to a Webflow template isn't about making flashy animations. It's about making your site feel smoother, more modern, and more intentional. Start small: add GSAP, animate one element, test scroll animations, improve gradually.